g-Platform doesn't require any 3rd party database software. It uses Windows/Linux file system and all the project data will reside in the local/server hard disks. .
![]()
When the user hover the mouse cursor on these icons, they will display the tool tip text of each icon's function.
![]() To create a new project, the user should click on this icon
To create a new project, the user should click on this icon
![]() To delete an existing project, the user should click on this icon
To delete an existing project, the user should click on this icon
![]() To know the properties of the project database, click on this icon to get the project database information
To know the properties of the project database, click on this icon to get the project database information
![]() To open any particular project, the user should click on this icon
To open any particular project, the user should click on this icon
![]() To close the current project, click on this icon. OpenDB & CloseDB icons will be active/inactive as per their respective situation. If OpenDB is active close DB will inactive and when the project is already opened then the OpenDB icon will be in inactive position and CloseDB will be in active position.
To close the current project, click on this icon. OpenDB & CloseDB icons will be active/inactive as per their respective situation. If OpenDB is active close DB will inactive and when the project is already opened then the OpenDB icon will be in inactive position and CloseDB will be in active position.
![]() To move any project UP as per user's preference, they can do it by selecting the project first and then click this icon.
To move any project UP as per user's preference, they can do it by selecting the project first and then click this icon.
![]() Similarly to move any project DOWN, click on this icon. Prior to that the user should select the project.
Similarly to move any project DOWN, click on this icon. Prior to that the user should select the project.
![]() In order to export the database, the user should click on this icon.
In order to export the database, the user should click on this icon.
![]() To import the database, we should click on this icon.
To import the database, we should click on this icon.
![]() For any reason, if the project is not starting/corrupted then the user should click on this icon and it will open a window with all the database backups.
For any reason, if the project is not starting/corrupted then the user should click on this icon and it will open a window with all the database backups.
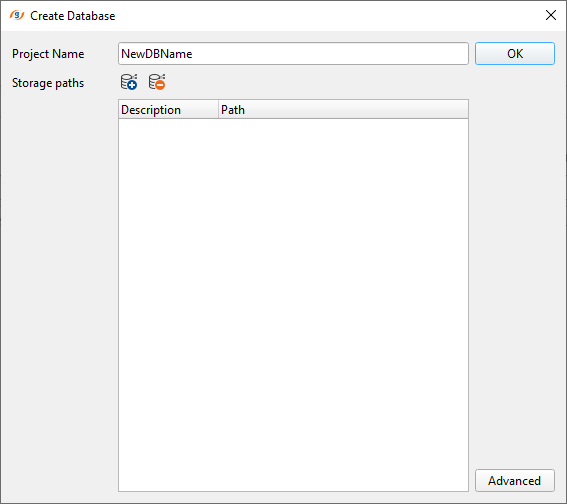
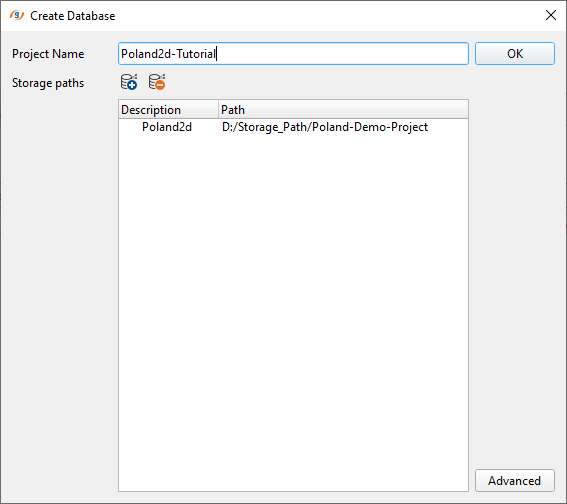
To create a project, the user should click on ![]() icon. It will open a "Create Database" pop-up window as shown below.
icon. It will open a "Create Database" pop-up window as shown below.
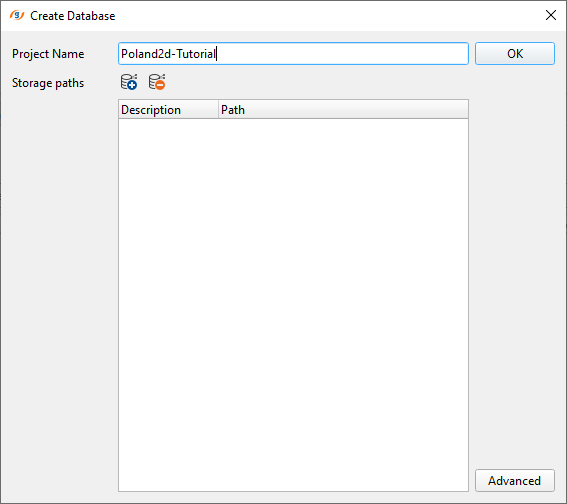
Give a name at the Project Name option and click on the storage path icon ![]() .
.
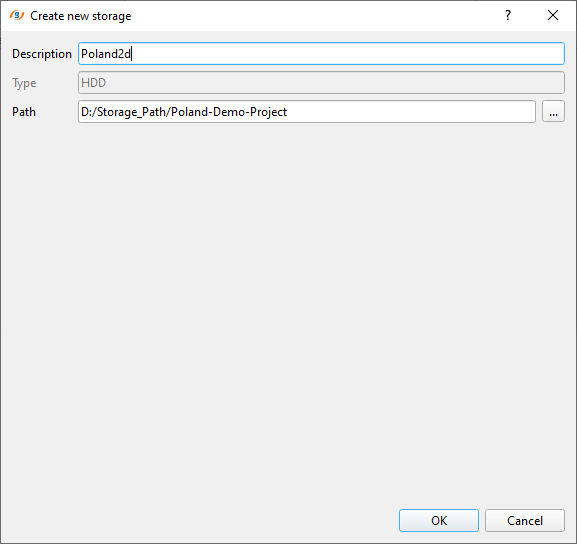
This will open up another pop-up window "Create new storage" to define the project data storage path.
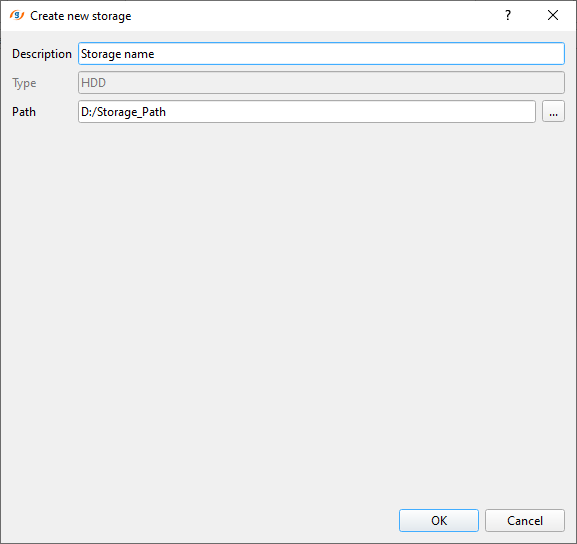
Fill in the Description with appropriate project information like project survey area name or your favorite soccer team :) etc. It doesn't have any significant role.
Path This is where the user should define the project path. The user should click on the ![]() icon and it will open a browser window. Create a directory with appropriate name and click Select Folder. This will bring back to the same window and now click OK.
icon and it will open a browser window. Create a directory with appropriate name and click Select Folder. This will bring back to the same window and now click OK.
As soon as the user clicks OK button, it will come up with a pop-up window with the following message.
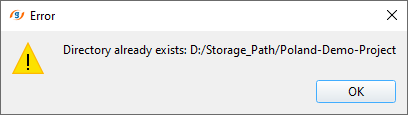
Since we created this directory by ourselves so ignore this message and click OK. It will close this window and take us back to the "Create Database" pop-up window.
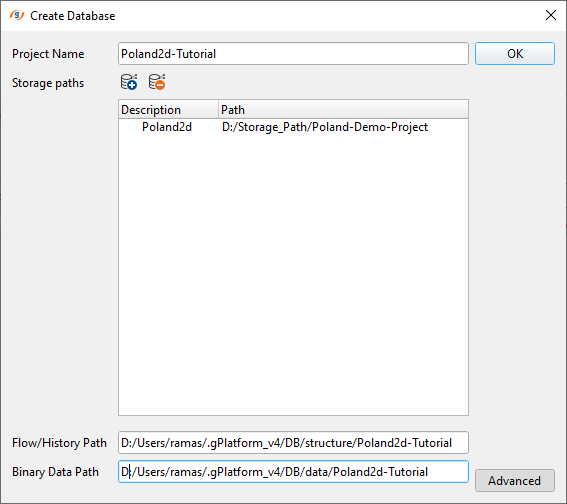
Now click on the Advanced tab at the bottom of this Create Database window. Here it will store all the Flow/History path & Binary data path of the project as shown below.
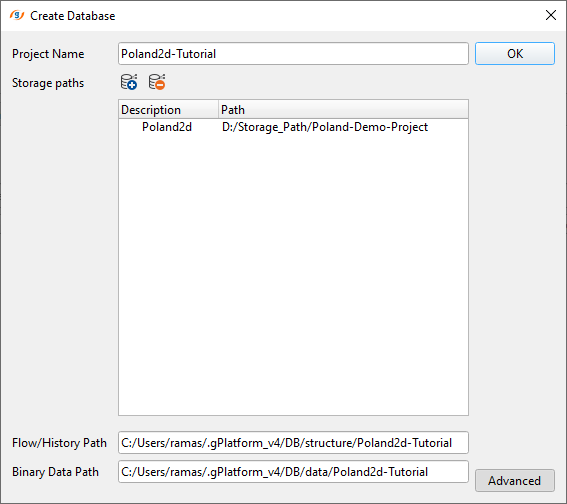
The user can to change Flow/History Path & Binary Data Path. Usually C drive is for Operating System(OS) and chances of losing the C drive is high. So it is wise to place them under any other drive like D, E, Z or whatever drive you have. In order to change that, the user should only change the first letter of the drive letter. In this case, we have C drive and we are going to change that from C drive to D drive by simply replacing the C with D. Rest all directories will be automatically created for you.
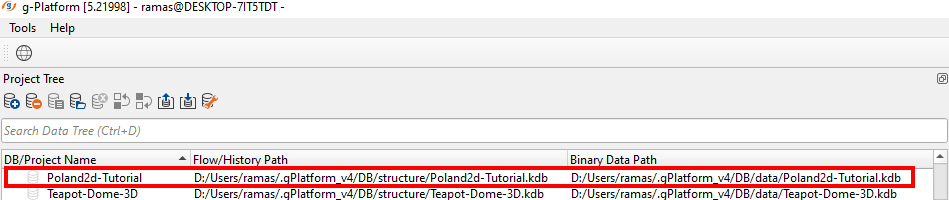
Click OK. We just created our first project in g-Platform. This project will display under the Project Tree with all the information as shown below.
To open the project, double click on Poland2d-Tutorial project. It will activate and show the following display as shown below.
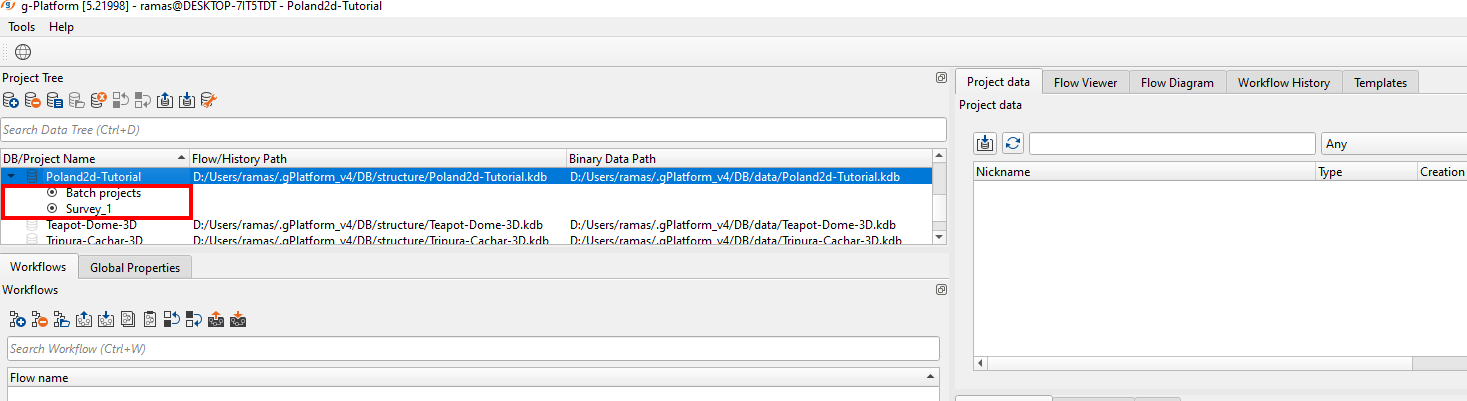
As soon as we double click on the project, it will open the project and also activates the other windows/tabs. Till now they all are in disable mode.
Now we are ready to create our first workflow.