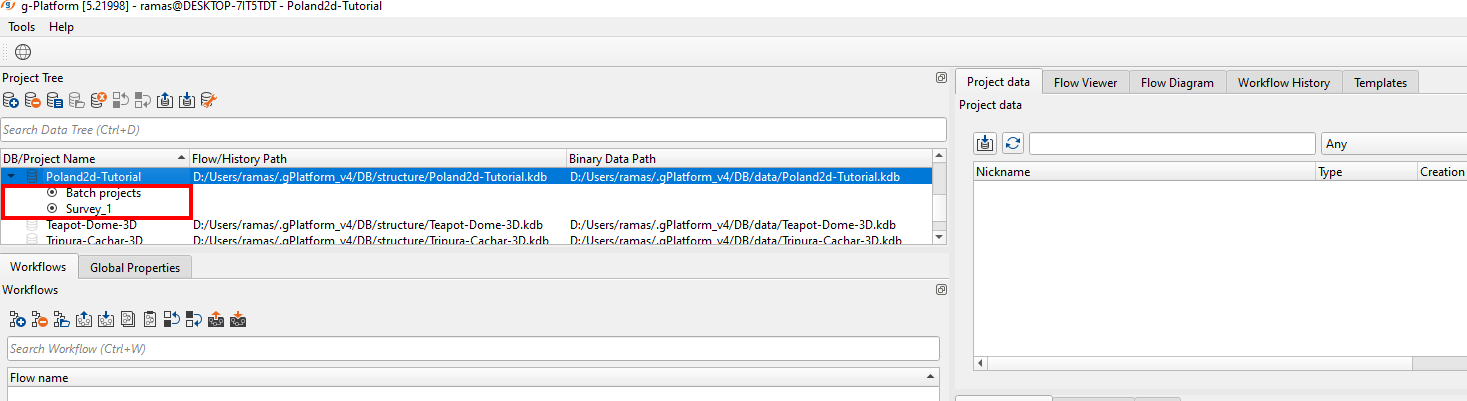
Next step after creating the project is creating the workflow. Once we open the project, we see two options Batch projects & Survey_1 within the project tree as shown below.
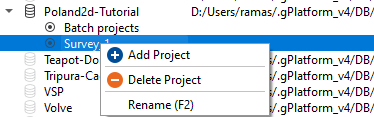
The user should select Survey_1 and right click on Add project. Don't confuse with Project nomenclature as such it can be considered as a Line name also.
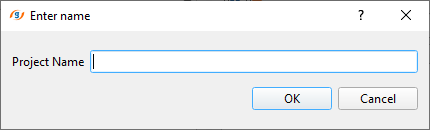
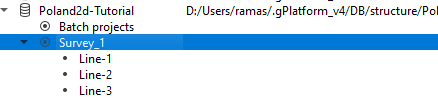
Here enter the line name. If you have multiple lines then add as many as Projects ( alias line names).
Now select the desired line and go to Workflows tab and click ![]() icon. It will open a pop-up window as shown below.
icon. It will open a pop-up window as shown below.
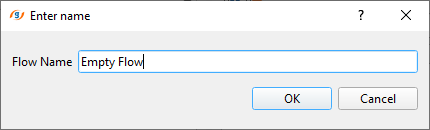
Give a name at the Flow name with respect to the workflow and click OK.
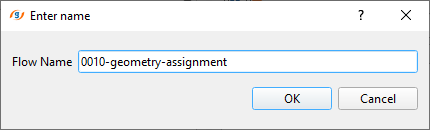
This workflow name will appear inside the Workflows tab as shown below.

To open this workflow, the user should double click on the workflow. It will open a new window which is known as g-Navigator. This is where we build our workflow and do parameter testing, visualize the data etc. The default display of the g-Navigator is as shown below.
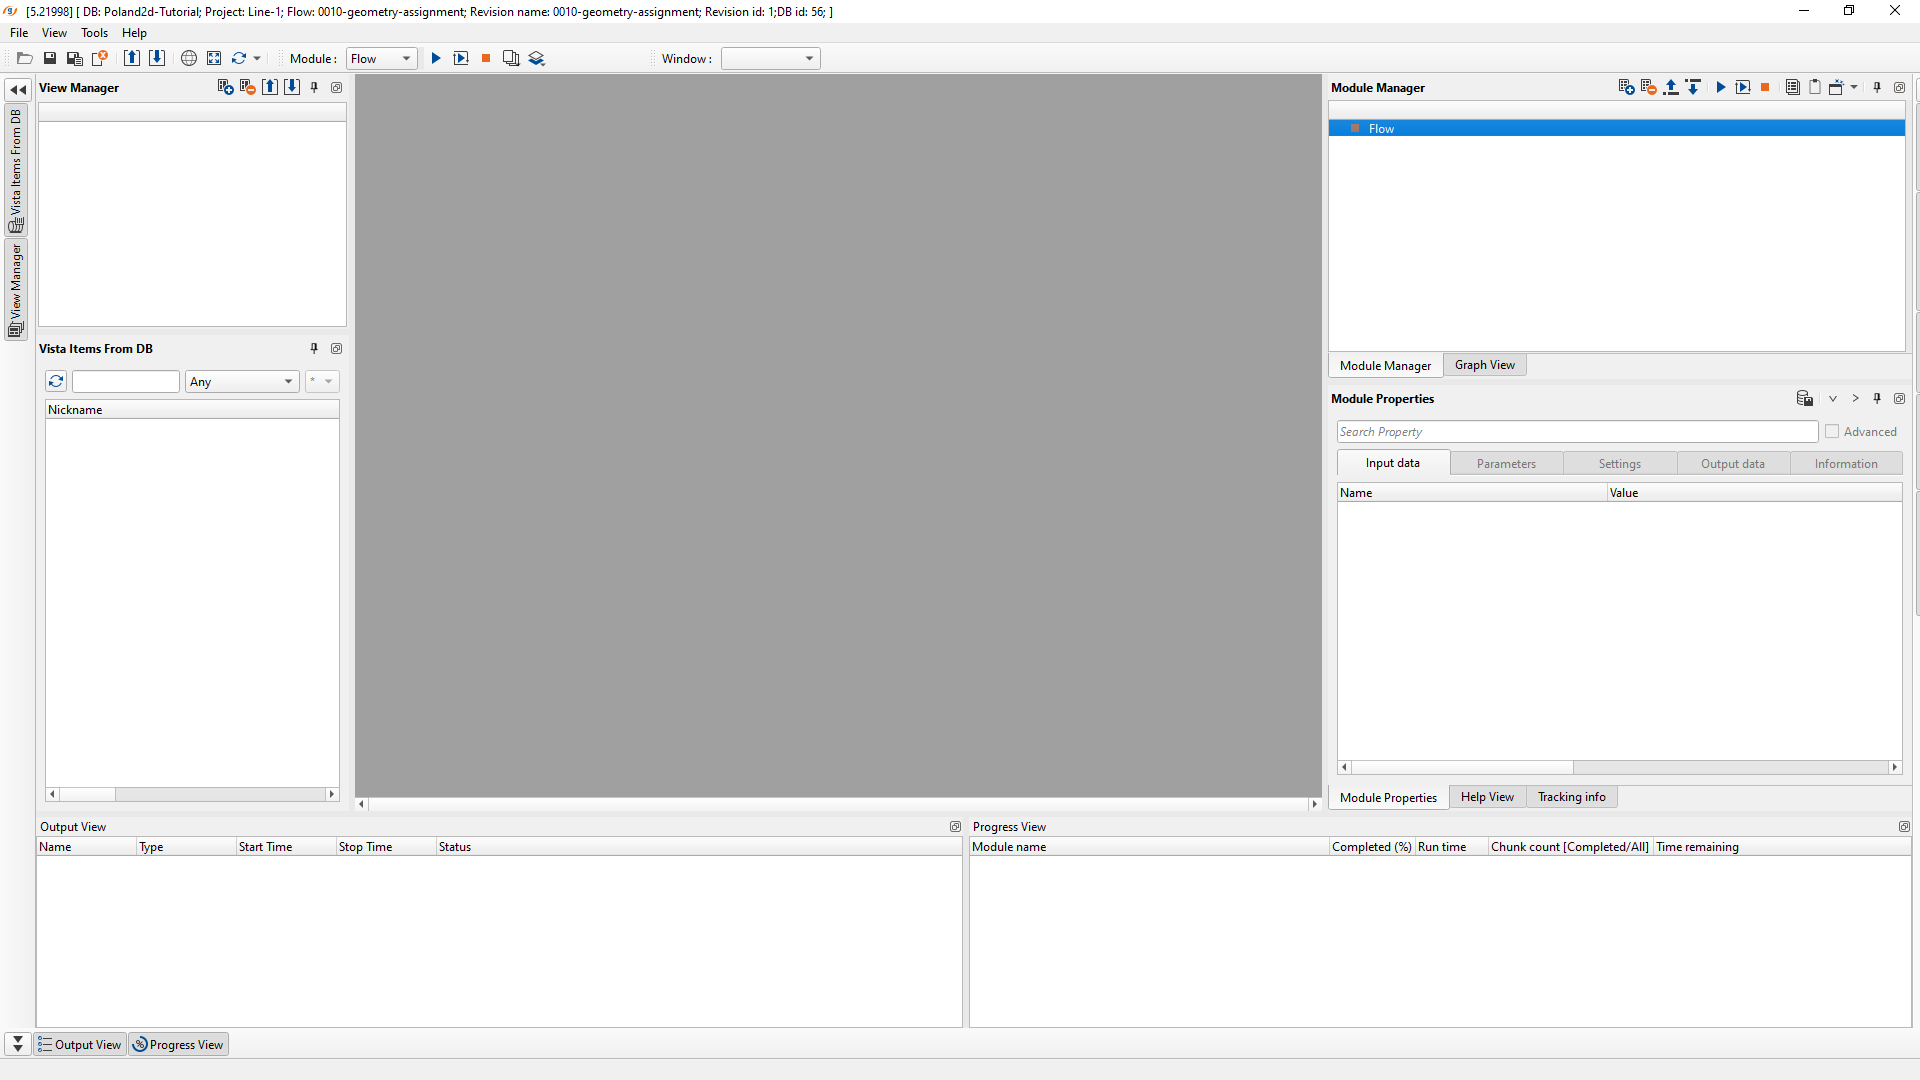
Inside the g-Navigator there are different panels. Each panel got it's significance.
Module Manager This is where the user add/delete the processing modules to build the workflow
Module Properties Input the data parameters
View Manager To see the visual contents of the processing modules like input/output/difference, location map etc.
Vista Items From DB A place where the user can save the vista items (like stack sections or input/output/difference ) for future reference.
Output View Records the scheme of events i.e. if the user modifies any parameter it will make a note of it in the Output view as an event but doesn't show what are those modifications.
Progress View Displays the progress of the workflow when executed. It displays the % completed, which process is currently running etc.
Building the workflow:
Every g-Navigator session starts with a Flow (by default) in the Module Manager as a first module whenever the user creates the workflow. Under the Flow module we start building our workflow further. Let's see how we build our first workflow.
Inside the Module Manager, the user should Right click/MB3 and it will open a menu with all the processing procedures. Choose one of them and it will give further options like as shown below.
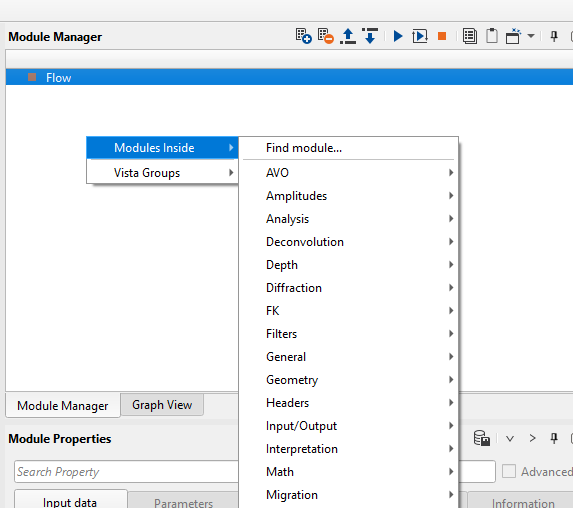
When the user selects Input/Output then it will expand further and display all the modules related to Input/Output as shown below.
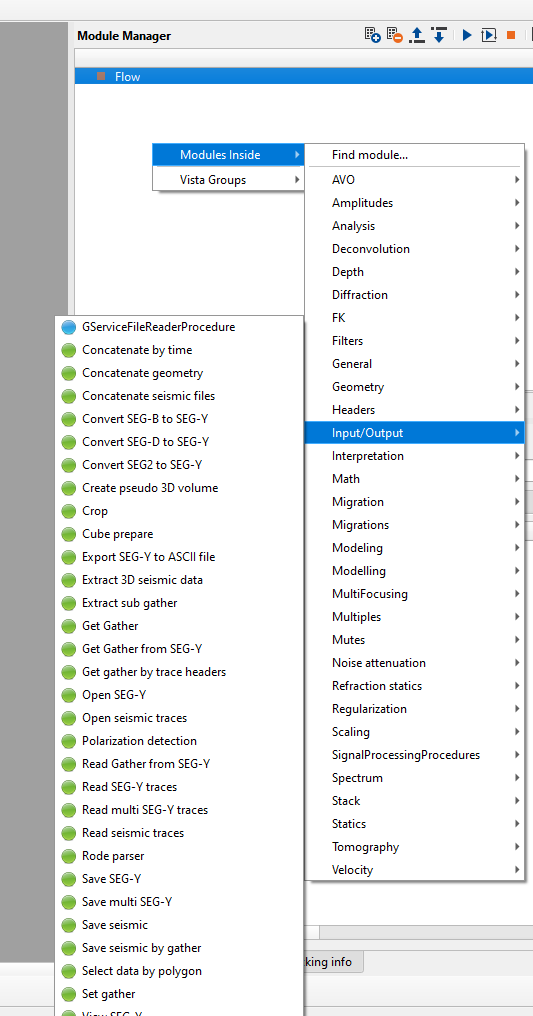
Now select the required module and it will add under the Flow module as shown below.
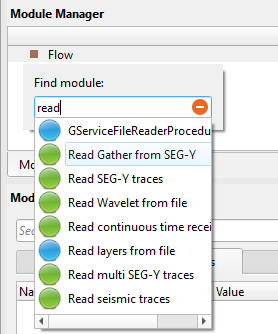
Pro tip: You can simply press "Insert" button on the keyboard and it will pop up the "Find module" window. Just type in the desired module name. Type "Read" inside the Find module search bar and it will display all the modules with "Read" as a text. Choose one from the list. Simple :)
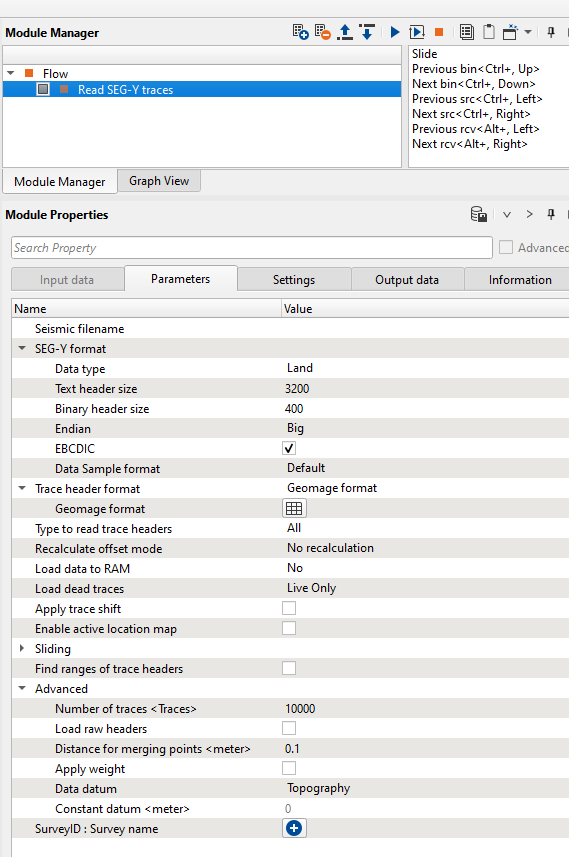
Similarly, the user can add/delete more modules inside the Flow to build a workflow. For each module, we observe Five tabs in the Module Properties window panel. They are
Input data This is where the user should provide the input data. If this tab is disabled then the input should be assigned from Parameters tab. Modules like Read SEG-Y traces and Load Geometry from SPS requires input data from the Parameters tab.
Parameters Provide the necessary parameters specific to that particular module.
Settings Doesn't require any inputs however whenever the user executes the jobs in cluster(CPU/GPU) then they can provide that information here.
Output data It provides the information of possible outputs from that particular module. These outputs are only for internal usage only and are saved in DB.
Information It provides the information related to the modules. For example, total number of traces, line length, sample interval etc.
Once the workflow is ready to run/execute, click on ![]() icon. This icon is used for executing all the modules i.e the entire workflow. In case the user wants to run/execute an individual module then they should click on
icon. This icon is used for executing all the modules i.e the entire workflow. In case the user wants to run/execute an individual module then they should click on ![]() icon. While running/executing the individual module, the user should select that particular module and click on
icon. While running/executing the individual module, the user should select that particular module and click on ![]() icon.
icon.