Installation steps for g-Space
Windows version
Geomage g-Space can be installed either from the company's web-site or directly from offline installation file.
If you have issues with internet access, please contact Geomage support at support@geomage.com and get instruction of how to get offline installation file.
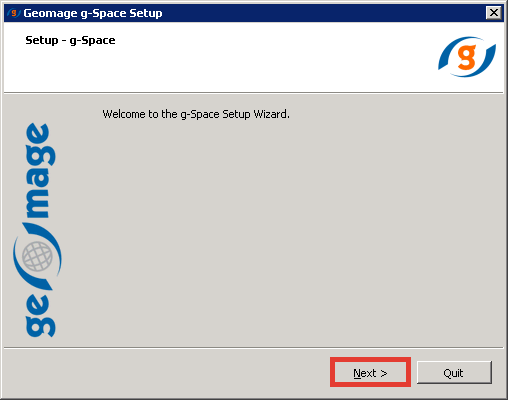
Step 1
Make sure you’re logged in as an administrator of the workstation and run the downloaded EXE file [GSpaceInstaller_Online_Win_xxxxx.exe] to start the installation. Click Next.
Step 2
Specify the installation directory for g-Space application and click Next.

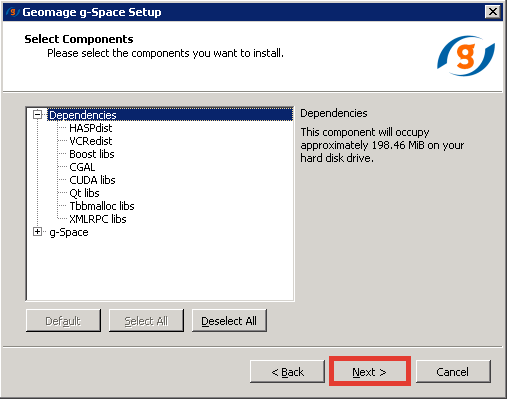
Step 3
Select the requested components for installation (by default all options are checked) and click "Next".
Step 4
Review the "License Agreement", check the box to accept and click Next.

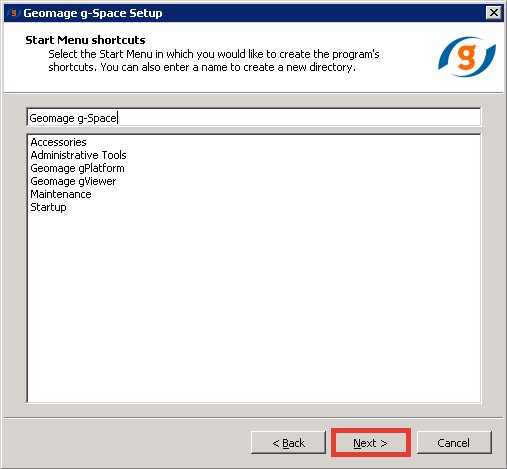
Step 5
Select the "Start Menu" for program's shortcuts and click Next.
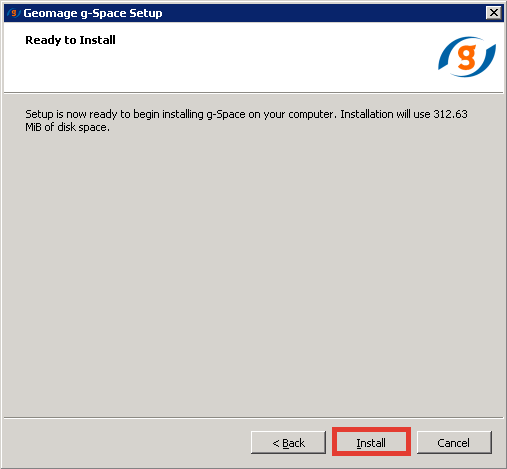
Step 6
g-Space is ready to be installed, click Install to begin the installation.
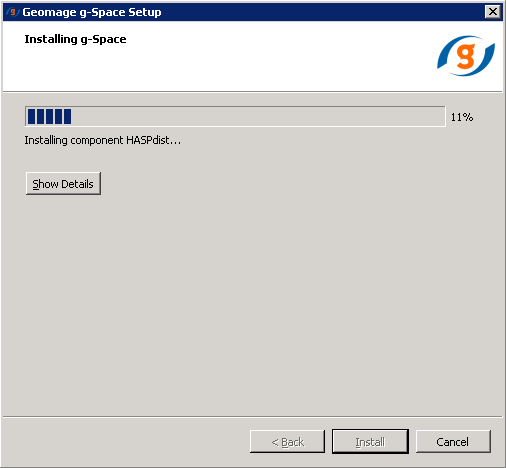
Step 7
It may take few seconds to finish the installation.
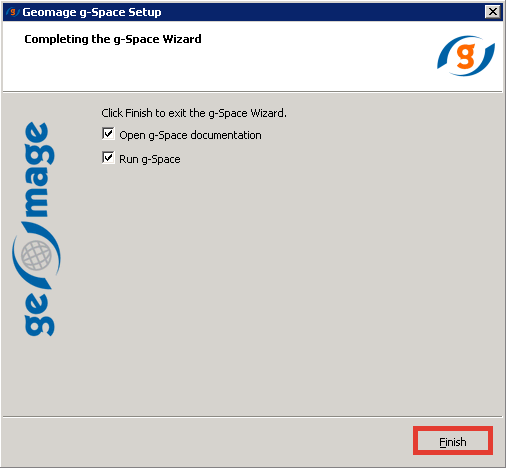
Step 8
Click "Finish" to complete the installation of g-Space. Uncheck Run g-Space if you want to run it later.
Once you have finished the installation process the message below may appear due to missing license file.
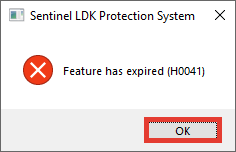
Press OK and follow the instructions in the licensing section