 | INSTALLATION |
|
<< Click to Display Table of Contents >> Navigation: Tutorials >
|
g-Platform installation process is simple and quite straight forward, because it doesn't require any system administrator's skills to install the software either in Windows or Linux operation system. You just need to follow the instructions described below: separately for both Windows and Linux OS.
Installation instructions for Windows
Make sure you are running installation as administrator of the notebook/workstation and deploy the downloaded .EXE file. In case you still did not download the installation EXE, click on a link below, fill the form and download the installation file from this web-address:
Web: https://www.geomage.com/download-software/download-g-platform/
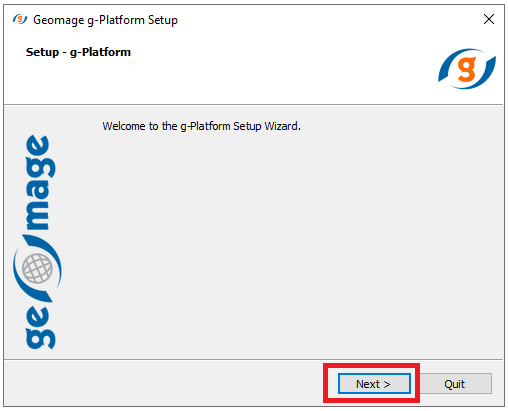
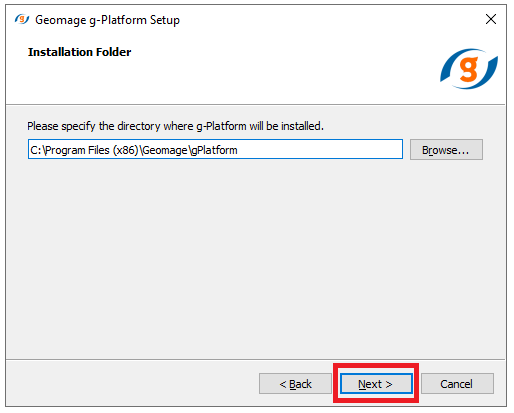
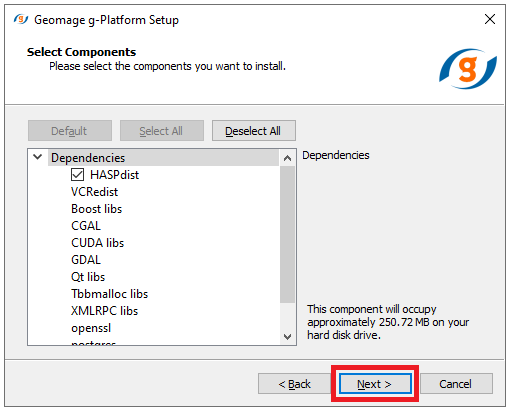
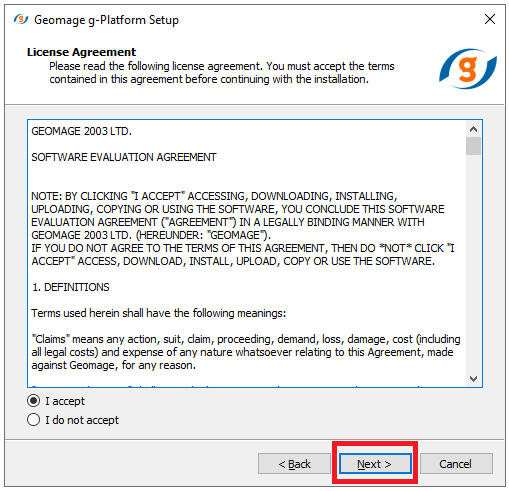
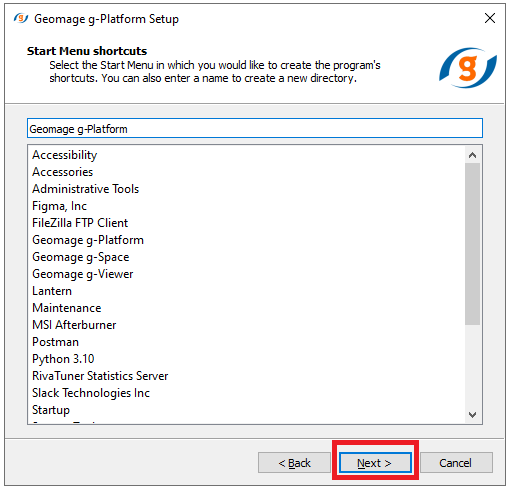
Go through dialogs windows clicking on the Next button as shown below, while accepting Terms of license agreement on the seconds dialog.
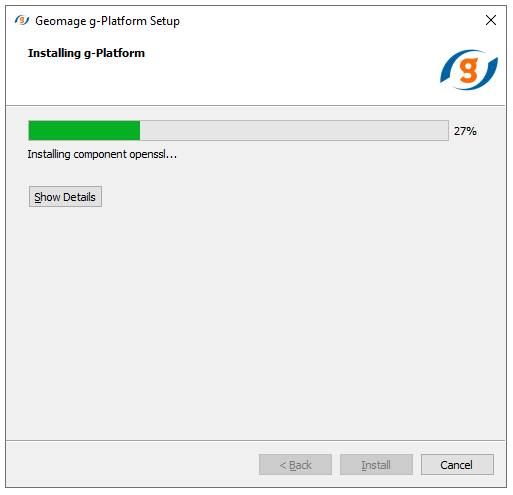
The installation can take few minutes to complete.

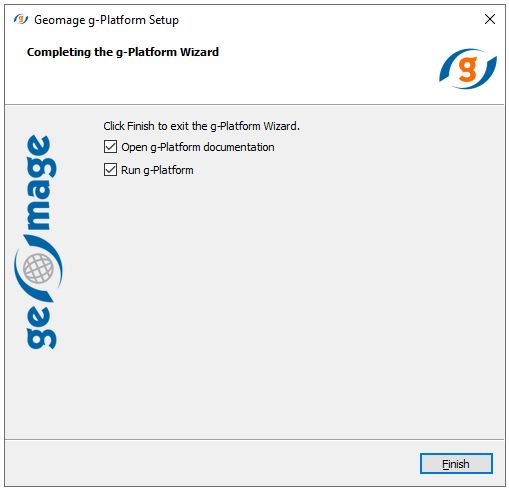
The g-Platform application and documentation should start automatically after pressing the finish button.
In case it did not, please launch it by using the start menu shortcut or the shortcut installed on your desktop.
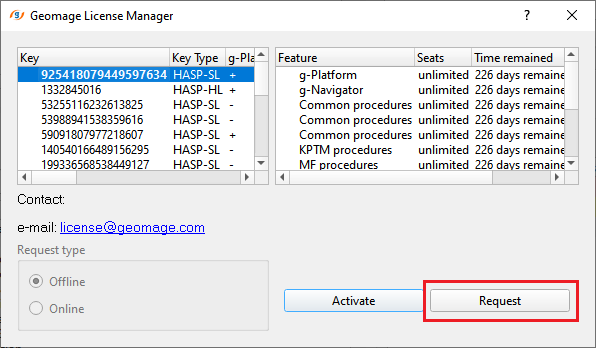
First application start, the License Manager (as presented below) will pop up, click the Request button in the Geomage License Manager to initiate the trial license request:
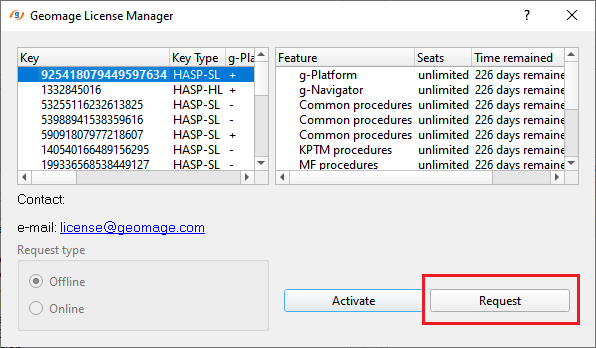
When Request button clicked a dialog with license request code will appear.
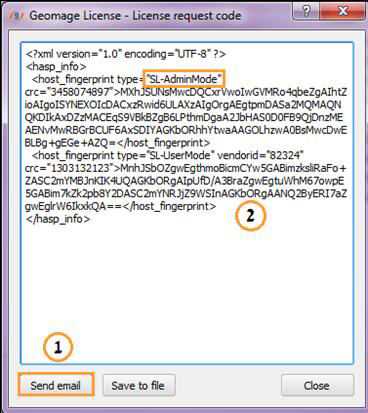
Once you have requested a license, the license manager will generate a License request code. Please verify that it was created as SL-AdminMode.
If it is not, you MUST get back to and reinstall the software with Admin permissions.

The License request code should be delivered to Geomage in one of the 2 ways below:
1. Click on Send email (1) to send the License request code via your default email client.
OR
2. Copy the License request code (2) and send the entire string to license@geomage.com via a server or other email service.
Now, check your mailbox - it usually takes 1-2 hours until you will receive an e-mail from Geomage with the license activation file – the extension of the file is V2C.
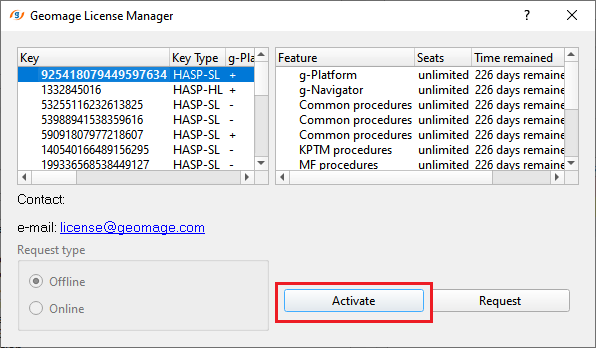
License activation:
•Save the received V2C file on a disk (preferably different from OS);
•In the License manager of g-Platform click on the Activate button;
•Chose the license file (*.v2c ) and execute it by clicking on the Open button;
•In case you did not receive the license activation key email, please check in the Spam/Junk folder in your in-box.

Now you can start g-Platform.
In case there is any issue, please contact us at support@geomage.com
Installation instructions for Linux
Please install the following repositories prior to the installation of g-Platform:
Console commands:
sudo yum install libxcb-devel*
sudo yum install libxcb-1*
sudo yum install xcb-util*
In case you still did not download the installation EXE, click on link below, fill the form and download the installation file from this web-address:
Web: https://www.geomage.com/download-software/download-g-platform/
To run the downloaded file, set it as executable:
chmod +x GNavigatorInstaller_Online_Lin
Then, run it as a Super User:
Sudo ./GNavigatorInstaller_Online_Lin
Go through number of dialogs with the Next button as shown below, while accepting Terms of license agreement on the second’s dialog.
The installation can take few minutes to complete.
g-Platform™ application should start automatically when Finish button pressed.
In case it did not, please launch it by using the start menu shortcut or the shortcut installed on your desktop.
When first stared, the License Manager (as presented below) will pop up, Click the "Request" button in the Geomage License Manager to initiate the trial license request.
When “Request” button clicked a dialog with License request code will appear.
Once you have requested a license, the License manager will generate a License request code. Please verify that it was created as “SL-AdminMode”.
If it is not, you MUST get back to and reinstall the software with Admin permissions.
The License request code should be delivered to Geomage in one of the 2 ways below:
1. Click "Send email" (1) to send the "License request code" via your default email client.
OR
2. Copy the "License request code" (2) and send the entire string to "license@geomage.com" via a server or other email service.
Now, check your mailbox - it usually takes 1-2 hours until you will receive an E-mail from Geomage with license activation file – the extension of the file is V2C.
To activate the license:
▪ Save the received V2C file to a disk (preferably different from OS)
▪ In the License manager of g-Platform click the “Activate” button
▪ Chose the saved file (with the suffix .v2c ) and execute it by clicking “open”
▪ In case you did not receive the “license activation key” email, please check in the Spam/Junk folder in your inbox.
Now you can start g-Platform
Important: g-Platform™ MUST run from the path it was installed.
For example:
cd /opt/gPlatform
./gPlatform.sh
In case of any issue, contact us at support@geomage.com
Geomage g-Cluster configuration
I. Introduction
Geomage g-Cluster – Geomage designed eco-system which consists of Master server(s), HPC cluster (CPU and GPU) and Job-Scheduler server. That system allows to deploy g-Platform processing software modules in most efficient way on the client's HPC cluster.
Master server(s) - this is the server(s) where g-Platform application installed. OS: Windows 7/2008R2 and later; Linux RH/CentOS 6.x, 7.x.
HPC Cluster: CPU/GPU Nodes (Slave servers) – servers running Linux RH with following installed dependencies and packages.
Nodes might have NVidia GPU cards installed for better performance of several processing modules.
II. Pre-installation of following packages required:
1. Network requirement:
• Ports 19211(TCP), 1947(TCP/UDP) should be opened in local network on all machines.
• Port 30000(TCP) should be free and opened on server. It is necessary only for gPlatform.
• All machines (server and clusters) should be in the same sub net. Mask and bcast should be the same. Only in otherwise please add address (Serveraddr = if_of_the_server) of the server to file /etc/hasplm/hasplm.ini, and send to support@geomage.com your network setting.
2. Coalition worker.
• python ver 2.6
• coalition worker
3. Job scheduler (coalition server)
Server responsible for job distribution over the cluster in most efficient way.
Pre-installation of following packages required:
• python ver 2.6 or higher
• twisted library (run the command yum install python-twisted)
• coalition server
III. Pre-installation of coalition on the cluster:
1. Choose machine to install coalition server. Get the ip address (X.X.X.X) or dns name of this server. You will need this address/name to setup worker.
2. Run following command on Coalition server and one of the nodes of HPC cluster.
#rpm –qa > /tmp/rpm-qa.log
3. Send logs to support@geomage.com for QC.
4. Install coalition server software on Job scheduler
a. Create a user «coalition»
#adduser coalition
b. Unpack received package into /opt/coalition_server/
# tar -xzvf coalition-server_v2_3.tar.gz
c. Run installation script (sudo permission required)
#sudo install-server.sh
d. Open browser and open page X.X.X.X:19211. If you will get error please ask client’s IT staff is port 19211 is allowed in firewall and is it not denied by other application.
5. Install «coalition worker» software on all nodes of HPC cluster
a. Create a user
#adduser coalition
b. Unpack received package into /opt/coalition_worker/
# tar -xzvf coalition-worker_v2_3.tar.gz
c. Open coalition.ini file, find parameter serverUrl=http://X.X.X.X:19211, where X.X.X.X is address from paragraph III.1.
d. Run installation script (sudo permission required)
#sudo install-worker.sh
IV. Installation of g-Slave application
Recent Geomage g-Slave application need to be installed on all nodes of HPC cluster.
Unpack received package into /opt/GSlave/gSlave_xxxxx or into any other directory (in this case don’t forget to change default path in gPlatfrom: Help->Configuration->CoalitionJobs->dir).
1. yum install glibc.i686
2. tar -xzvf gSlave_xxxxx.tar.gz
3. Install HASP driver (sudo permission required)
a. cd /opt/GSlave/gSlave_xxxxx/aksusbd-7.xx
b. sudo ./dinst
4. In order to verify that installation passed successfully, please type /usr/sbin/aksusbd –v
 If you have any questions, please send an e-mail to: support@geomage.com