The LOG group of the Wells bar provides two separate buttons for loading LAS files: Load LAS files for a quick, simple load, and Log Loading Wizard for an advanced load with full control over the loading process.
Load LAS files (simple)
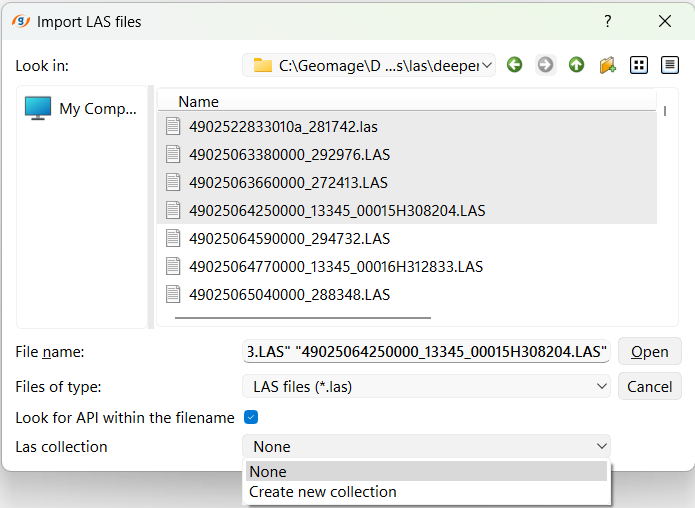
Step 1: Locate the file
Go to Ribbon -> Wells bar and click on Load LAS files button

In the appeared dialog box locate the files and click open
The file dialog provides two additional options. Enable Look for API within the filename to extract the well API/UWI from the file name. The Las collection dropdown lets you add the curves to an existing collection or choose Create new collection to place them in a new one.
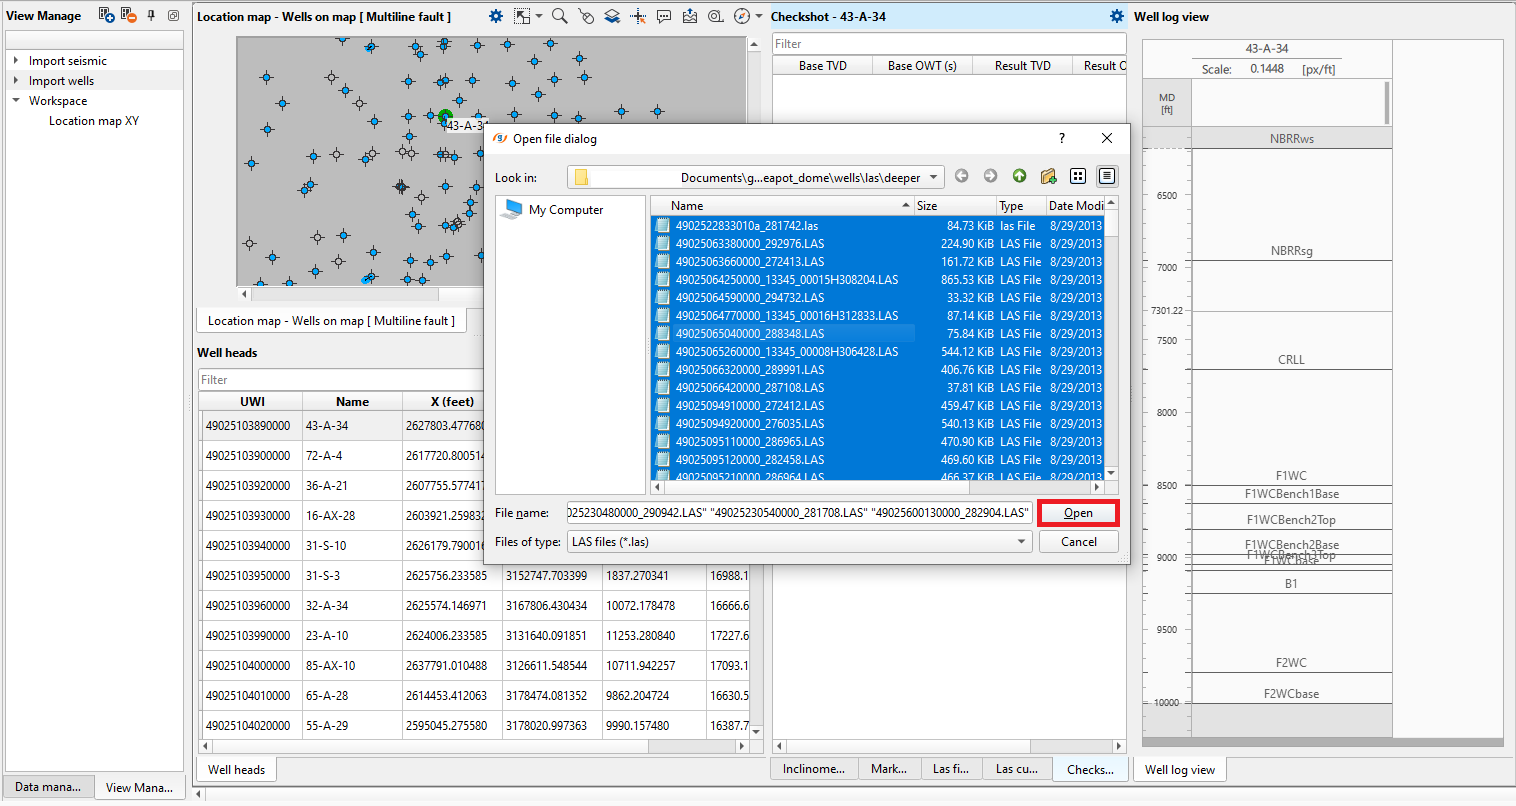
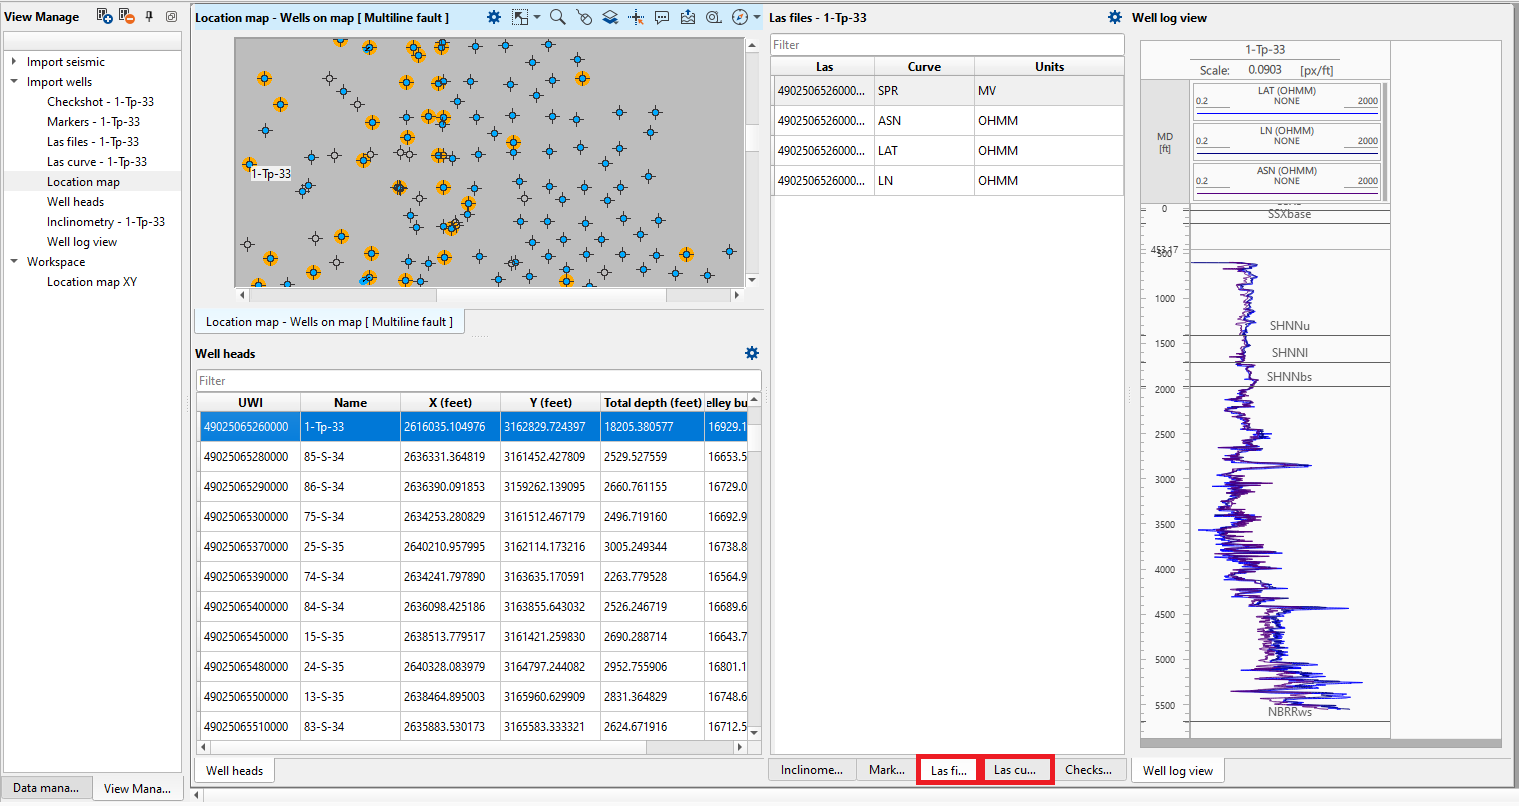
Step 2: Control loaded data
To check Well log data you have just loaded click on map view or in table below map. All loaded information will appear in table LAS files where you can find list of loaded curves. In the table Las curve you can check the log values. Also you can see the log preview
Log Loading Wizard (advanced)
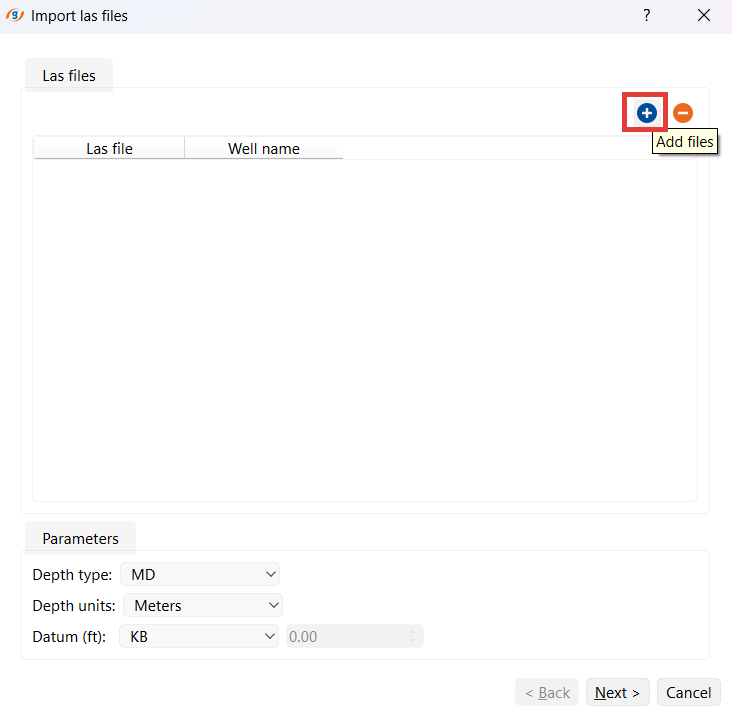
The Log Loading Wizard gives you more control over the loading process.

In the Log Loading Wizard window, on the Las files tab, click the + button to add one or multiple LAS files. Once selected, press Next.
A separate Text files tab is available for importing log data from .txt / ASCII files. It uses the same curve-review workflow, with an added separator and column mapping so the wizard can read the curves from a plain text file.
In the wizard window, you will see a table with all available curves from the selected LAS file.
Each curve is listed with:
•Curve name (short code, e.g., GR, DT, NPHI).
•Name from file (original name as stored in the LAS).
•Type (curve type: Gamma Ray, Density, Resistivity, etc.).
•Units.
•Comments.
•Start depth / End depth.
•Histogram preview of curve distribution.
Curve name, Type and Units can be changed manually, you can choose the options from the list or type it.
At the bottom, you can set well-specific parameters that override the values read from the LAS header:
•Well (well name).
•Depth type (MD, TVD, etc.).
•Depth units (Meters, Feet).
•Datum — an editable combo box (KB, Sea level, Manual; or type your own) together with a numeric Datum value.

For more information about formats please refer to Well Data Formats