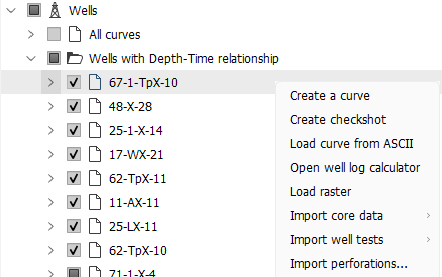
Import perforations
Perforation intervals are stored as named datasets under each well's Perforations folder in the Data Manager. Each interval has a top and bottom measured depth. Import a tabular CSV or TXT file with one row per interval; a file containing only a well identifier, Top MD and Bottom MD is valid.
Right-click Wells in the Data Manager and choose Import > Perforations.... Choose One file containing several wells (wells identified by UWI and/or well name) to route rows from one file, or Several files, one well per file for bulk loading.
Import a file
Right-click a well and choose Import perforations.... If the well already has a Perforations folder, the same command is available there. Select the file to open Import perforations - Perforation intervals.
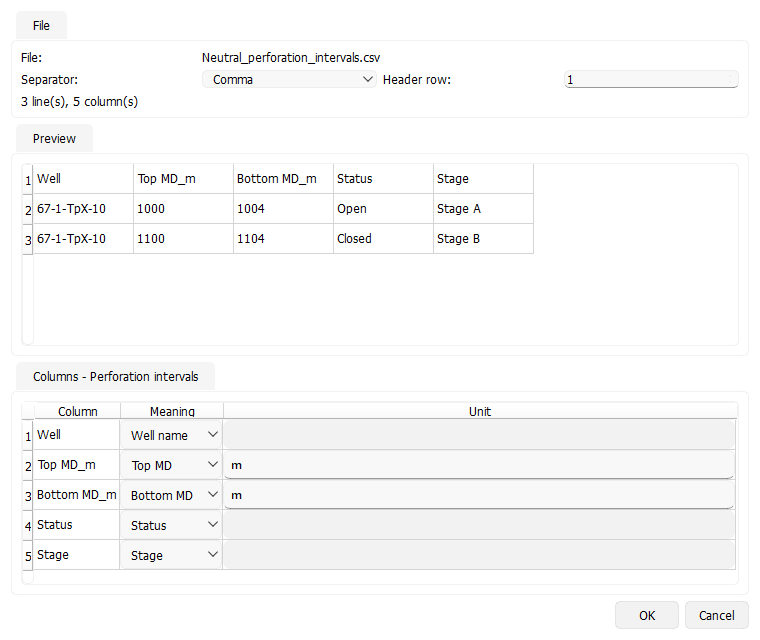
Check Separator and Header row against the Preview. In Columns - Perforation intervals, set each column's Meaning. Assign Top MD and Bottom MD, and identify the well with UWI, Well name, or both. A name alone must identify one project well; when both identifiers are supplied they must refer to the same well. Use UWI to distinguish wells with the same name; the other available assignments are Status, Date/time, Shot density, Phase, Stage and Comment. Supply a Unit for each mapped Top MD, Bottom MD or Shot density column. Check any unit proposed from a column name before clicking OK.
Enter a Dataset name: when prompted. Rows are assigned by their UWI and/or well name to wells already in the project. Unmatched, ambiguous or inconsistent identifiers leave the affected rows unplaced and are reported in the result. If no rows can be matched and you started from a selected well, g-Space offers to import all rows into that well instead; check the selected well before accepting. This fallback is not offered when starting from Wells. Each matching well receives its own named dataset. Importing again adds another dataset; an existing name is numbered rather than overwritten.
Intervals with Top MD greater than or equal to Bottom MD are imported and flagged in the result. Overlapping intervals remain separate. Recognized statuses are Open, Closed, Planned, Squeezed and Abandoned. An unrecognized status is shown as Unknown while its original text is retained.
Import several files
From Wells > Import > Perforations..., choose Several files, one well per file and select the CSV or TXT files. Each file should contain intervals for one well; several files may be matched to the same well.
First review the proposed file-to-well matches. g-Space uses the UWI and/or well name found in each file; if neither is present, it tries the filename without its extension as the well identifier. Correct a proposed match in Matched project well. Clear Import for files you cannot resolve or do not want to load. Every included file must be matched before proceeding to column mapping.
Map the interval columns and units as described above. Files with the same ordered header names share the mapping, using the confirmed separator and header row; differences in letter case or surrounding spaces do not require another mapping. Files with a different structure are mapped separately. After file matching, Well name and UWI columns are optional. Rows with contradictory well identities, or identities inconsistent with the file's matched well, are skipped and reported rather than silently assigned to another well.
Each file creates a dataset named after its filename without the extension; duplicate dataset names are numbered rather than overwritten. Cancelling the matching step or any column-mapping dialog cancels the whole bulk import before any data is written. After import, review the summary of imported, skipped and failed files and the reasons for rows that were not placed.
Review and display
Expand the well's Perforations folder to see its datasets and interval counts. Right-click a dataset and choose Open to review or edit its Top, Bottom, Status, Date, Shot density, Phase, Stage and Comment columns. Top and Bottom must be numeric; dates can be entered as YYYY-MM-DD or DD.MM.YYYY. The table does not add or remove rows or columns. Correcting an interval updates its flags. Use Rename or Remove on the dataset menu to manage it; Remove asks for confirmation. Datasets are saved with the project.
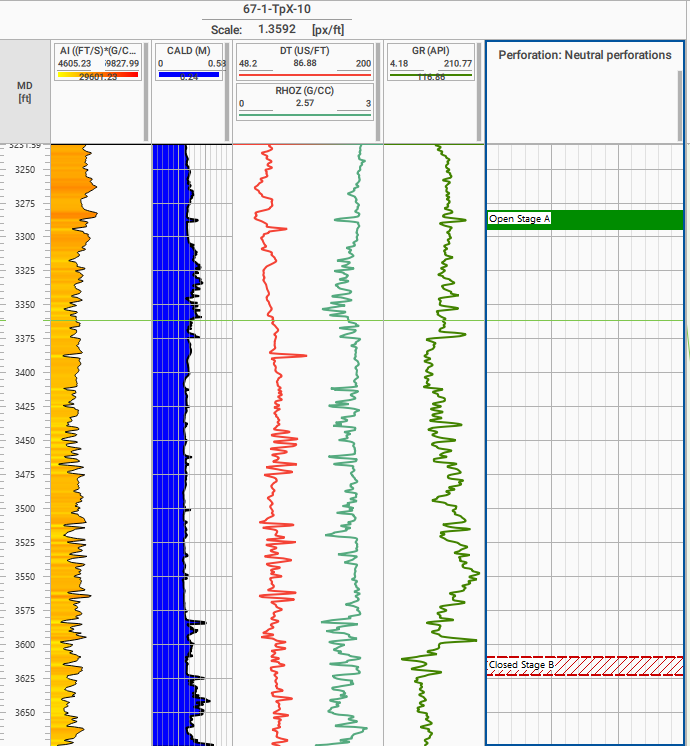
To display the intervals as filled blocks, see Well correlation view. The example below shows Open and Closed intervals from one dataset with different fills. The Perforation track is also available in Well log views with the same track settings.